
Faculty Dashboard
Quick Guide
What is Brainfuse?
Brainfuse develops and provides virtual learning solutions for schools, libraries, colleges, and universities. Our philosophy is anchored in adherence to high standards and user-centered technology to build a better educational experience for learners of different backgrounds. Brainfuse helps students and job seekers reach their goals by connecting them with qualified eTutors and job coaches anytime, anywhere. Users can also initiate and organize online meetings for peer-to-peer learning. The Brainfuse learning platform gives power to students to better manage learning outcomes by seamlessly integrating with the latest online technology.
Who are your tutors?
Brainfuse tutors are screened, trained, and managed directly by Brainfuse. Our tutors are recruited from a diverse tutoring pool and include a mix of professional tutors, retired instructors, graduate students and college faculty members. Only tutors with proven backgrounds in tutoring/teaching in their respective fields are hired by Brainfuse. Over 80% of tutors have a Master’s degree or a Ph.D. in their field.
Brainfuse regularly reviews and updates its tutor recruiting, training and monitoring procedures to provide the highest possible online tutoring experience for students. We have a unique live monitoring system where tutor interaction with students is reviewed by a live monitor and immediate feedback is given for an ongoing professional development.
How do I get started?
Your faculty dashboard username is automatically created through your college or University’s LMS (Learning Management System). The username should be created when you log in through your LMS and click on the Brainfuse icon found on your LMS. Please check with your institution for more details.
Brainfuse Support
Send an email to [email protected] or call toll-free at 1-866-272-4638, Ext. 510.
Faculty Dashboard
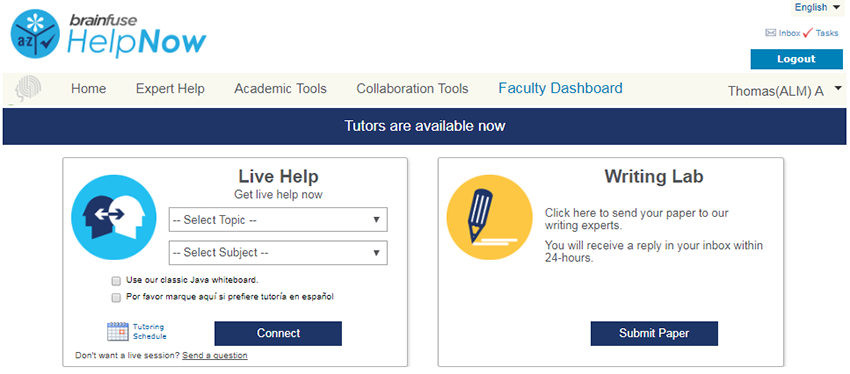
Please see below for the Brainfuse HelpNow interface for the faculty. It looks exactly the same as the student HelpNow interface except this page contains the Faculty Dashboard link at the top.
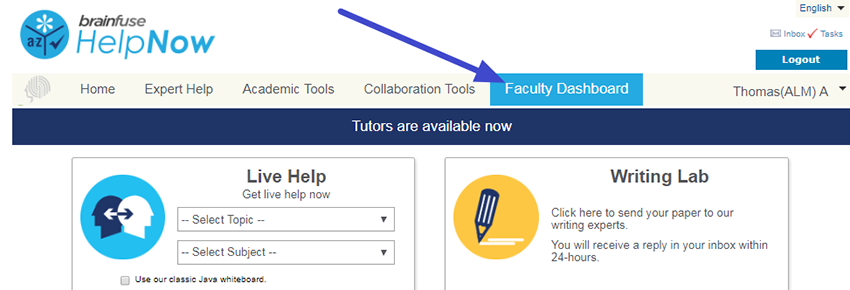
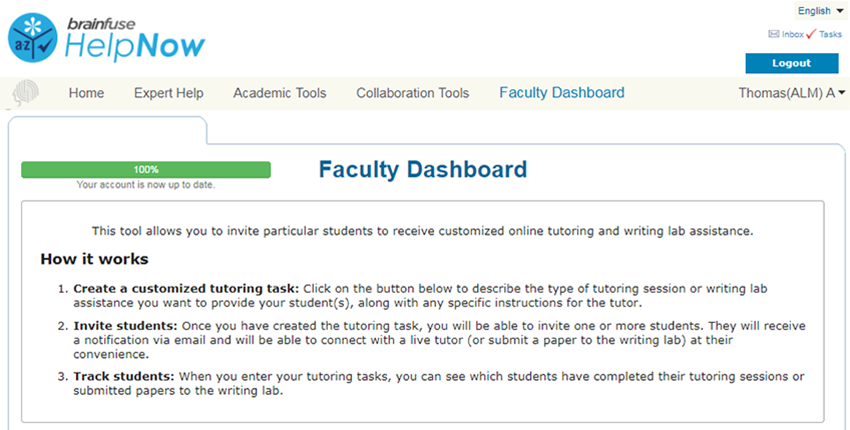
Click on the Faculty Dashboard as shown below to open the Faculty Dashboard.
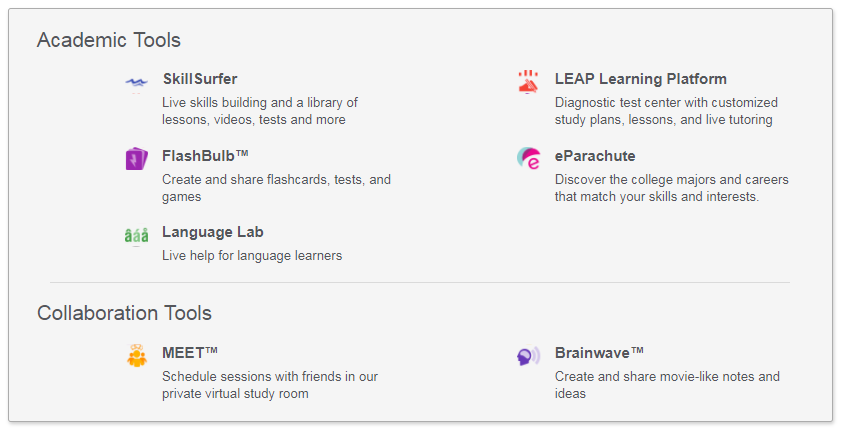
As explained in the description below, through Faculty Dashboard, you can individualize and manage your student’s live tutoring or writing lab experience from Brainfuse. In so doing, you have more control over the student’s learning outcome and success. Each tutoring assignment is sent as an email to the student.
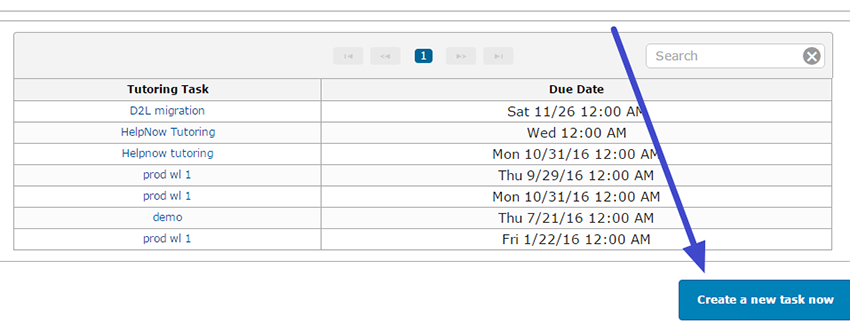
Scroll to the bottom of the Faculty Dashboard and click on Create a new task now as shown below to create a tutoring assignment for your students.
Next, select the type of tutoring assignment.
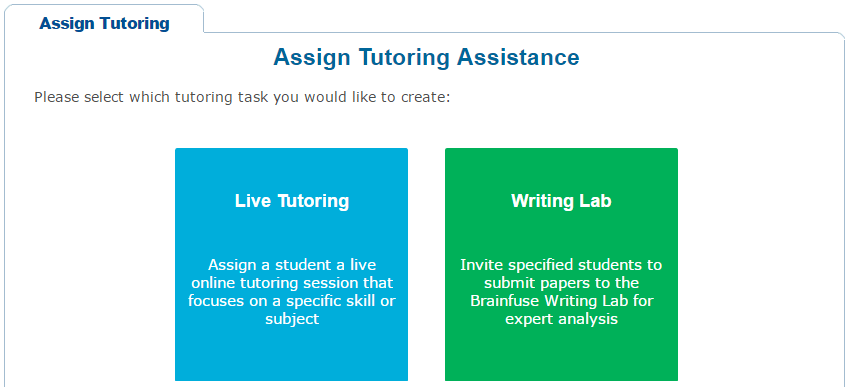
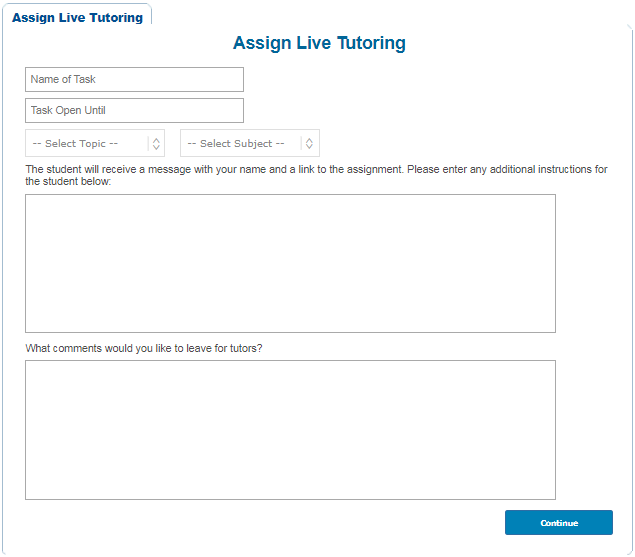
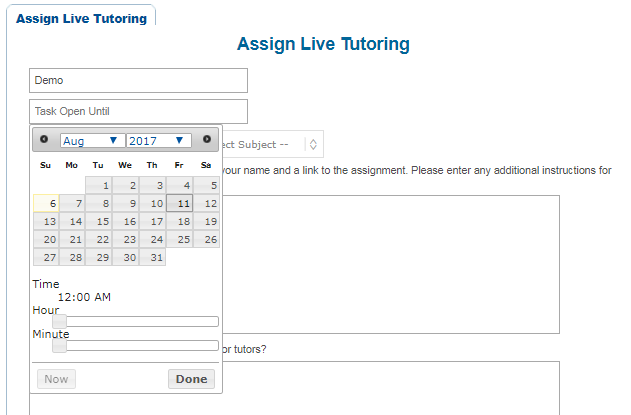
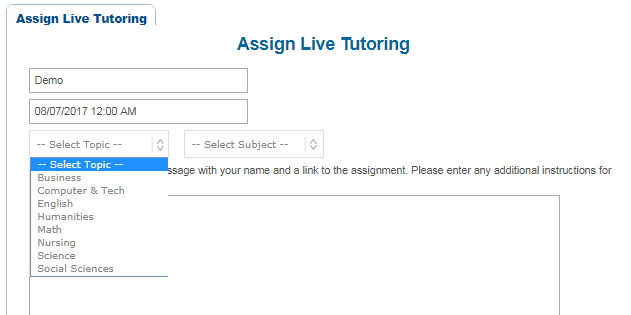
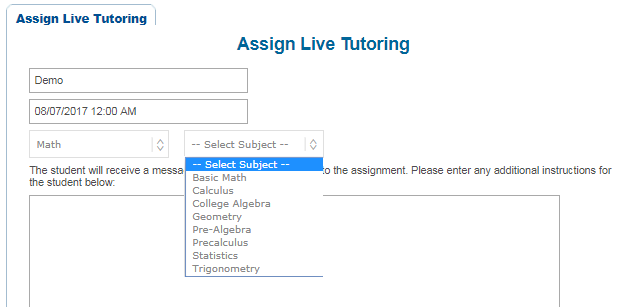
Clicking on Live Tutoring opens up the page below. Type in the Name of Task as required. Clicking on Task Open Until opens up the calendar to choose a date. Choose the Topic and Subject to select the discipline and subject area.
Choose the date from the drop down calendar as shown below.
Choose the discipline and the subject as shown below.
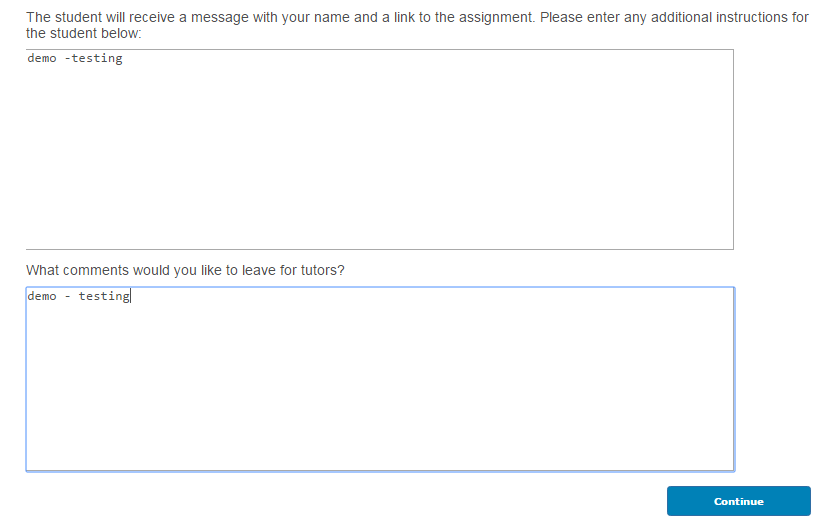
In the comments boxes below you can put in directions for the students and tutors. Click on Continue.
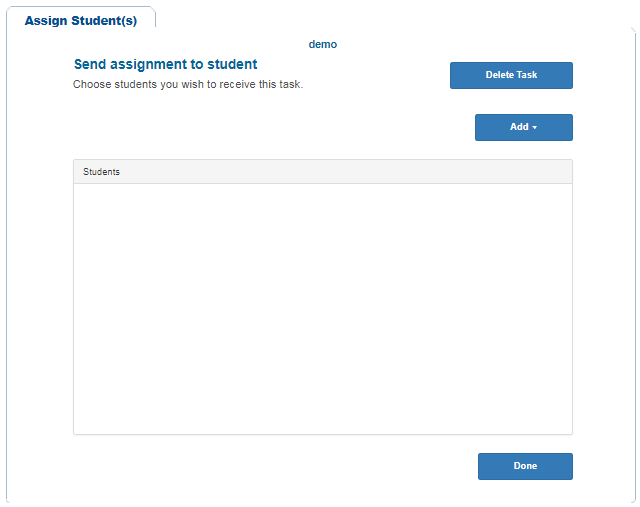
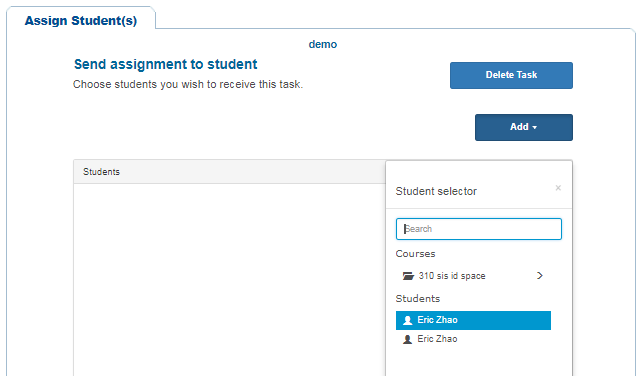
Next, add the students who should receive the assignment. Click on Add to see the list of courses and students.
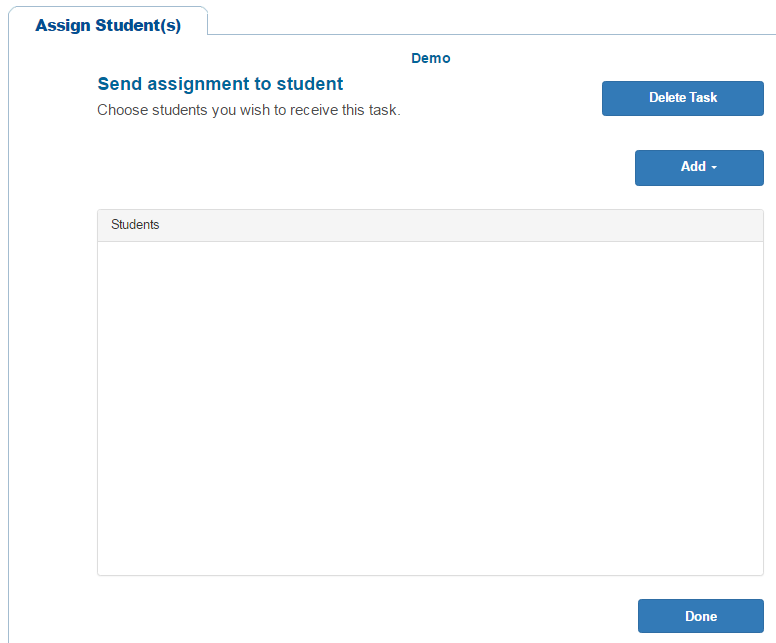
After you click on Add, you should see the list of courses. Click on your course and select the student or students who should receive this tutoring assignment.
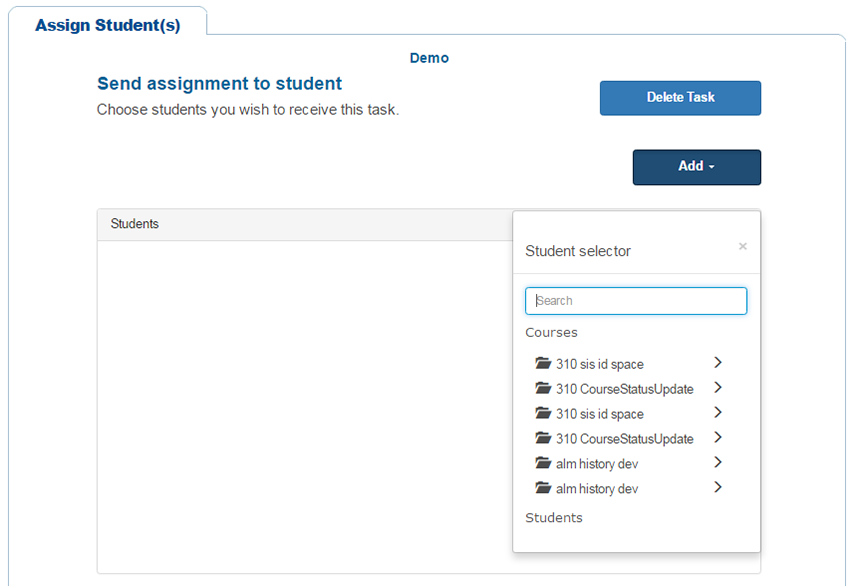
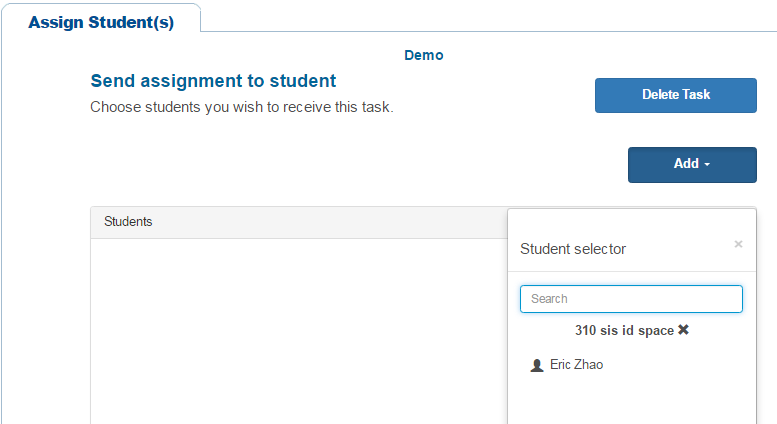
As explained above, after you click on your course, you should see the list of student names to choose from as shown below.
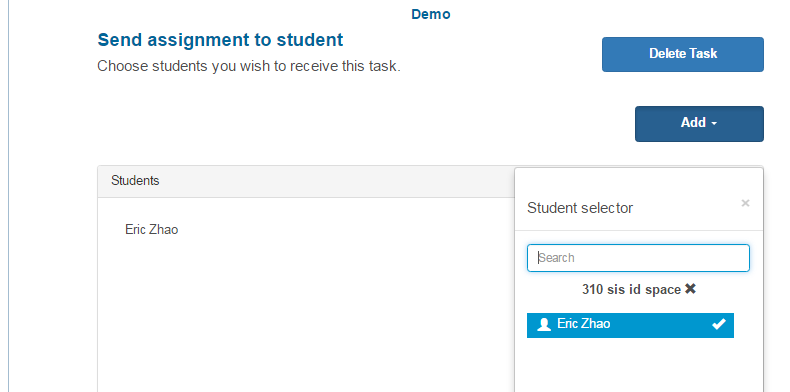
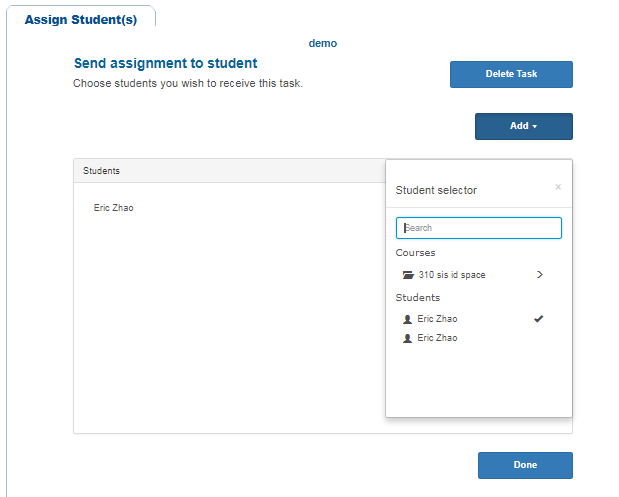
After selecting a student, the student’s name will now show up on the left-hand side and also show off as checked off on the student selector drop down menu as shown below.
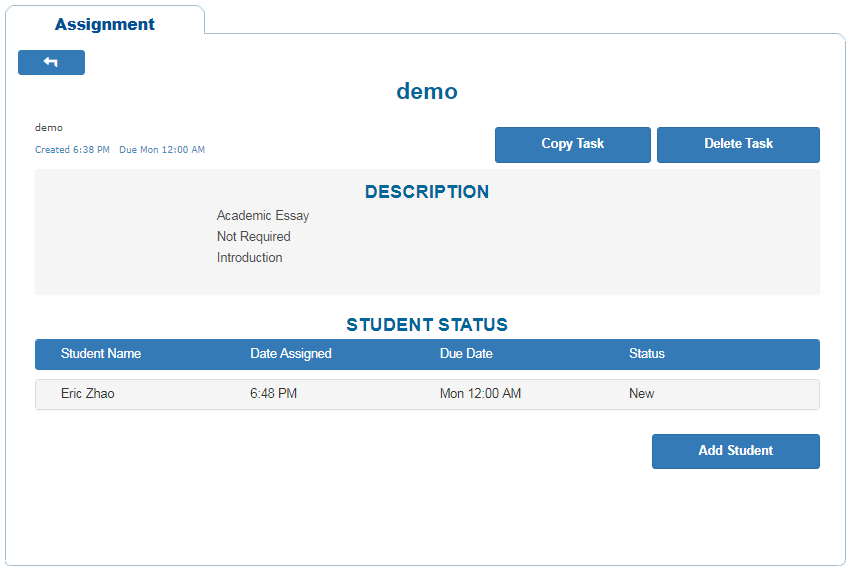
After selecting all of the students, click on Done found at the bottom of the page. You will then be directed to the page below. From the page below, you can view the student name, date assigned, due date and the status. You can also copy the same assignment for other courses and students, delete the assignment or add more students for the same assignment.
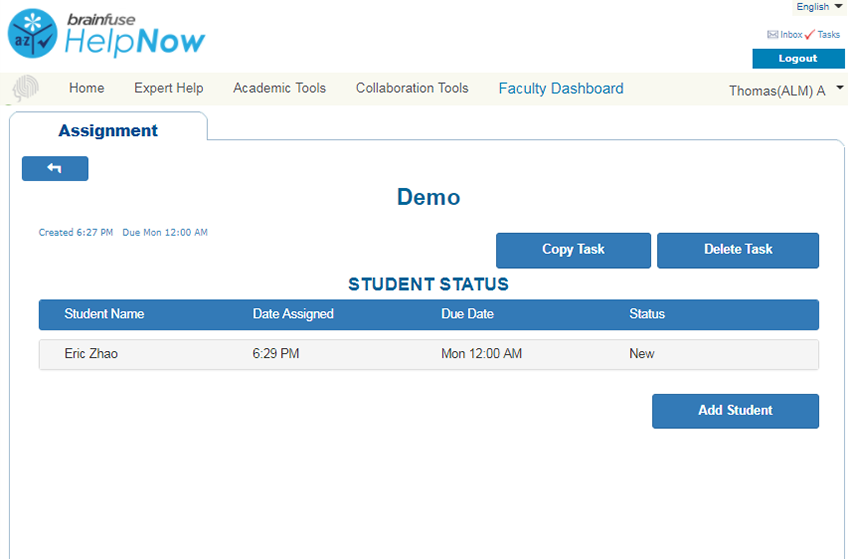
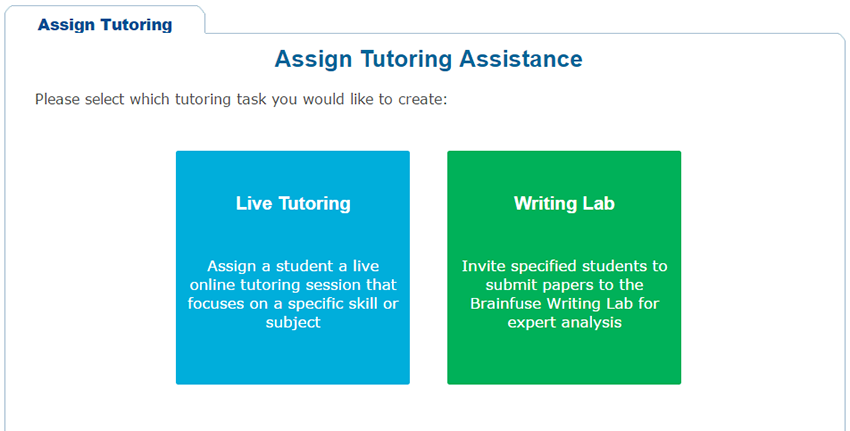
The writing lab assignment works the same way as live tutoring. First, click on the Writing Lab to create a writing lab assignment.
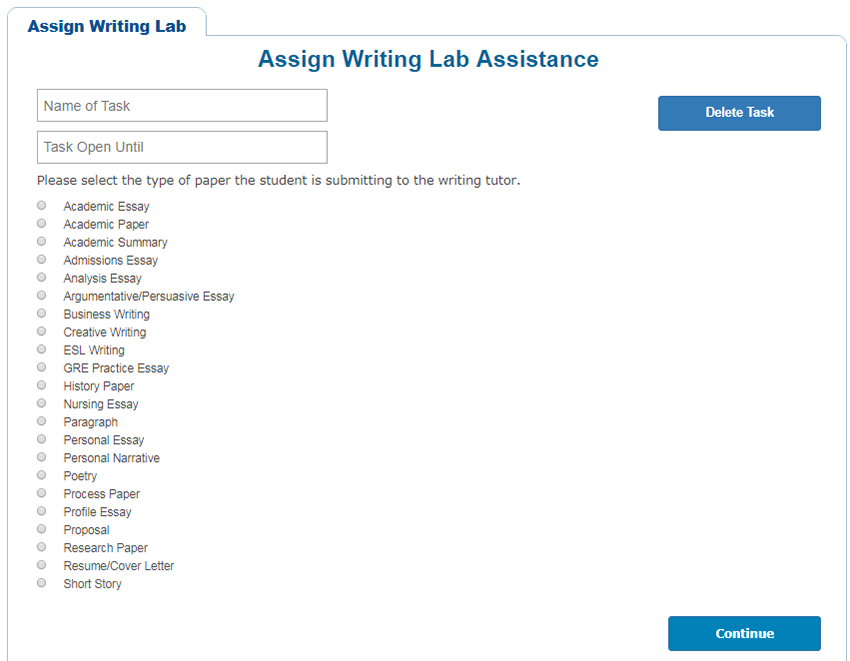
Next, type in the task name and select the date from the Task Open Until drop down menu. Be sure to also select the type of paper. If you do not see the type of paper that you need, you can contact [email protected] to see if it can be added to the list below.
Next, select the appropriate formatting style and writing elements that you want the student to focus on.
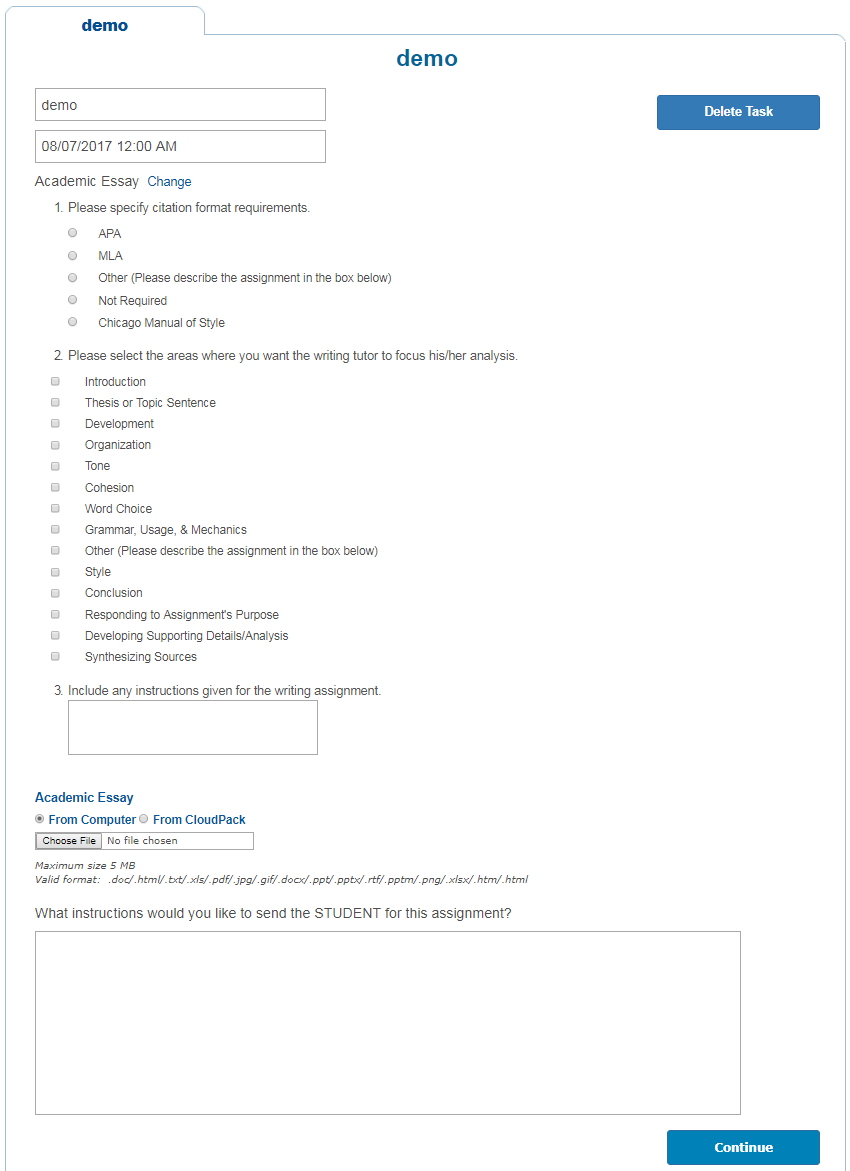
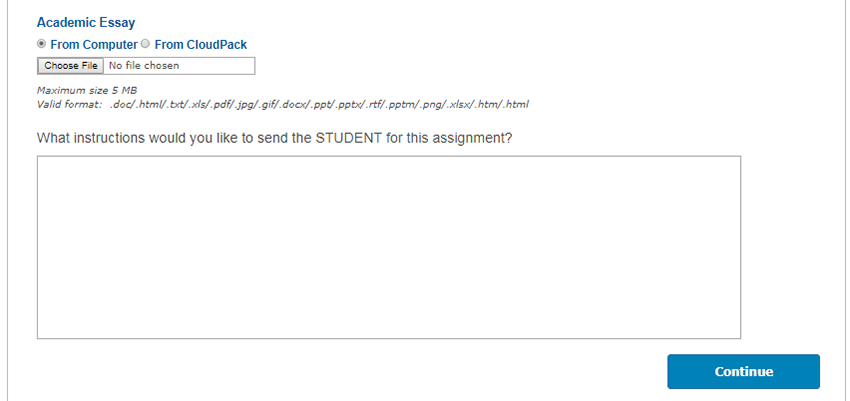
Click on Choose File to upload your instructions or other relevant documents for the student. Click on Continue after you are done selecting and inputting the instructions for your student.
Next, select your course to add the student or students who need to receive this writing lab assignment and click on Done as pictured below.
After clicking on Done, you will be brought to the task status page below where you can view the complete list of your writing lab assignments, make copies of the same assignment or delete as well as see the status of the work assigned.
