Brainfuse Tutor Match: Updating a Tutor Profile
Brainfuse Tutor Match provides students the ability to schedule live tutoring sessions with tutors for assistance in their selected subject. Tutor Match can accommodate online scheduled tutoring or in-person tutoring between students and tutors.
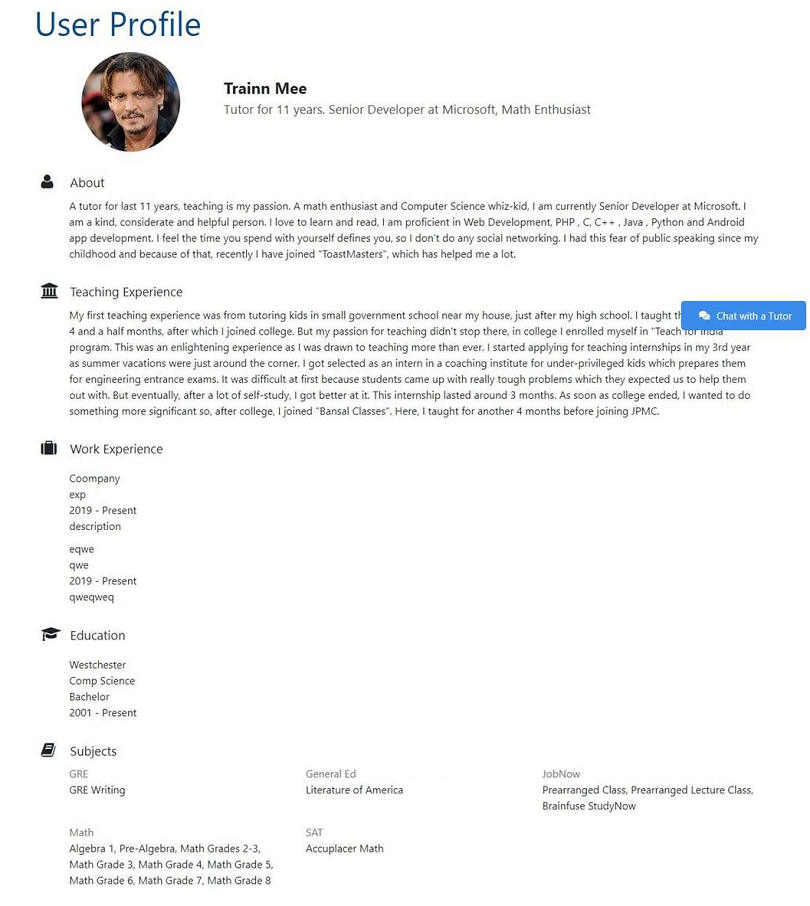
Tutor Match tutors are now able to create and maintain a personal profile page. This profile will be accessible to students to view when scheduling a tutoring session. Tutors can include education, work experience, hobbies, and more.
This guide will provide details about how to create and update the tutor profile.
Accessing your Administrative Account: Follow the steps below to access your administrative account.
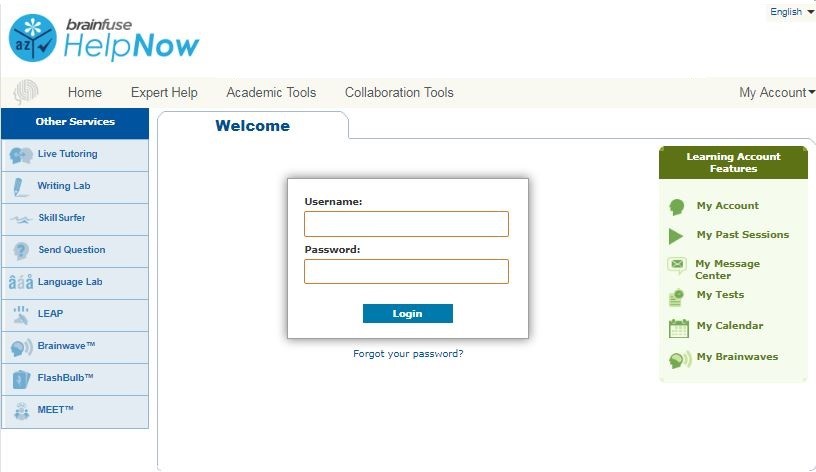
1. To access your tutor administration account, log in to Brainfuse using your administrative credentials.
Managing a Tutor Profile: Admins can create a tutor profile or update an existing profile through the steps below.
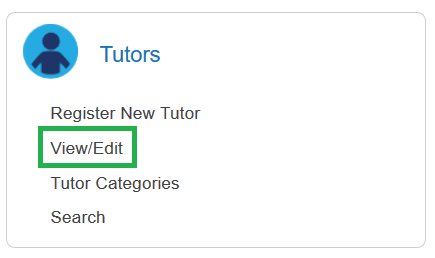
1. From the tutor homepage, select the “View/Edit” option found in the “Tutors” box.
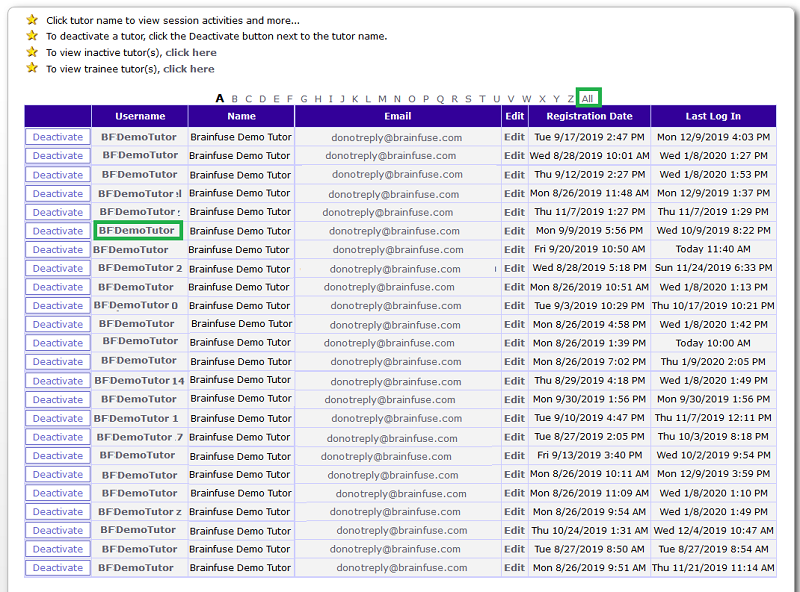
2. From the “View/Edit Tutors” page, select the tutor you desire. You can view all tutors by selecting “All,” found at the end of the alphabet.
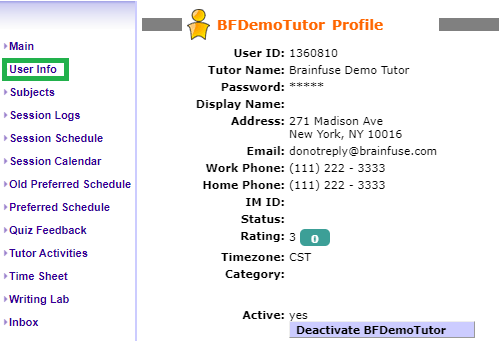
3. Once you select the tutor, the Tutor Profile will open. From the Tutor Profile, select “User Info” in the left menu bar.
4. From the “User Info” page, you’ll then be able to select “Create a Profile” to create a tutor’s profile. If the tutor already has a published profile, you’ll be able to edit the tutor’s details by selecting the “Edit” option under the tutor’s profile.
Create New Tutor Profile
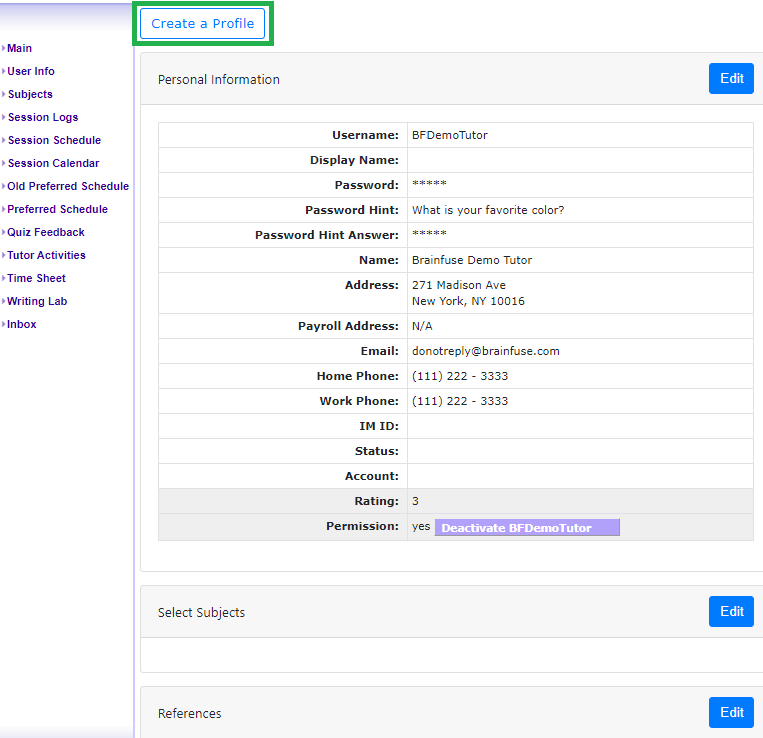
Update/Edit Tutor Profile
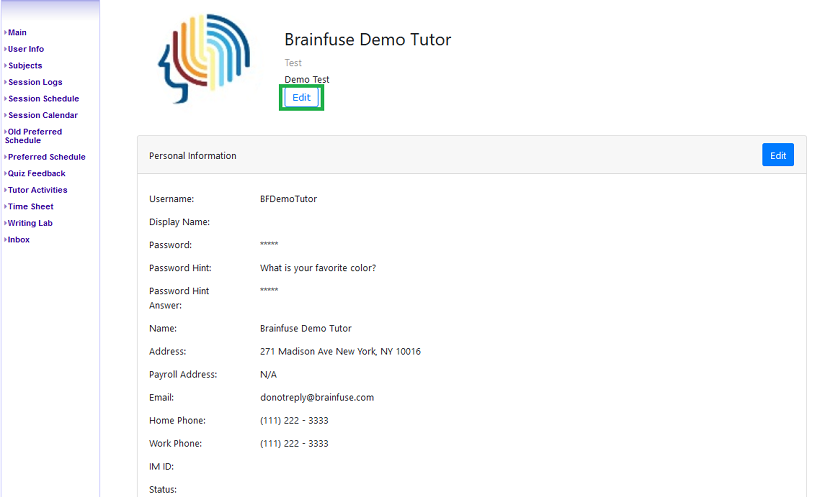
5. Once you have selected “Create a Profile” or “Edit,” you’ll then be able to enter the tutor details as you prefer.
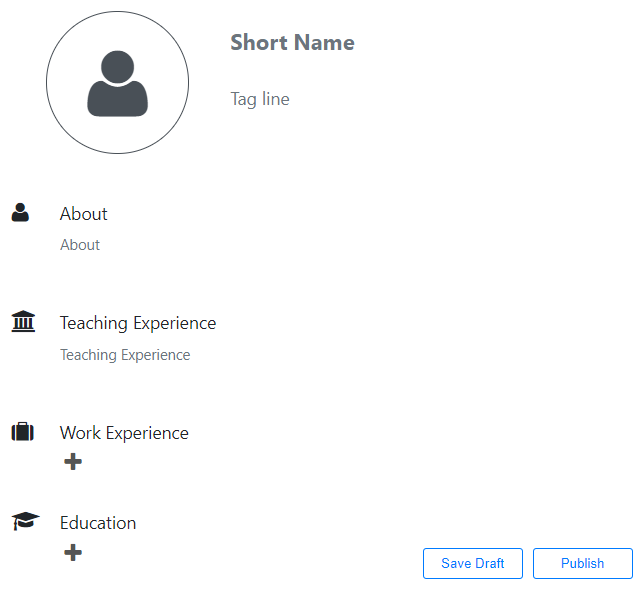
6. To upload a profile picture (if necessary), select the profile picture icon and choose the image you wish to upload.
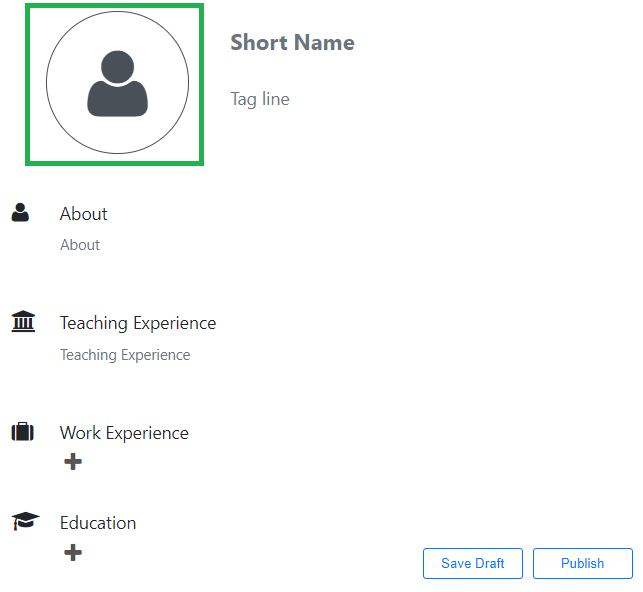
7. Once the picture you want to upload has been chosen, select the “Upload” icon to save the picture to your profile.
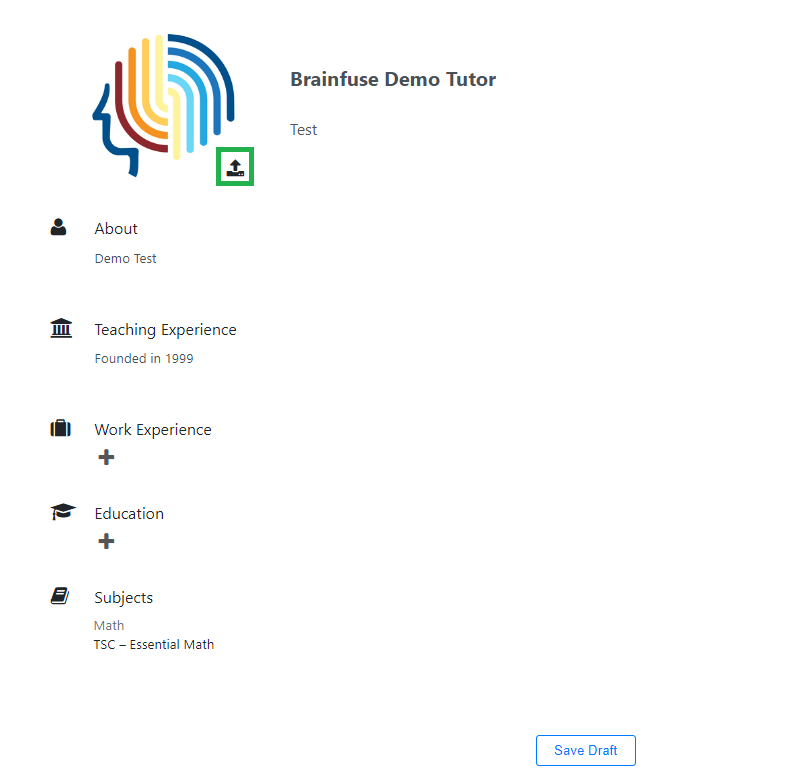
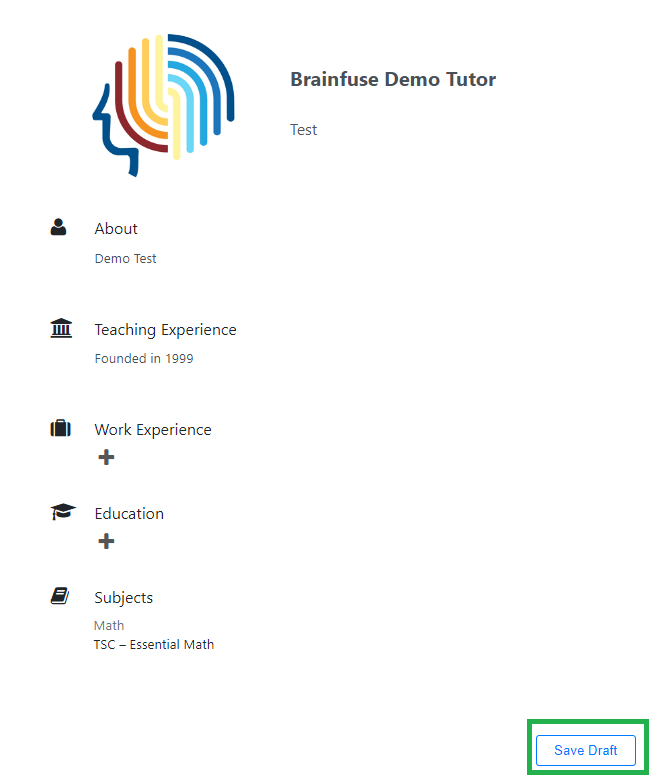
8. When you have entered all the details you want, select “Save Draft” at the bottom of the page.
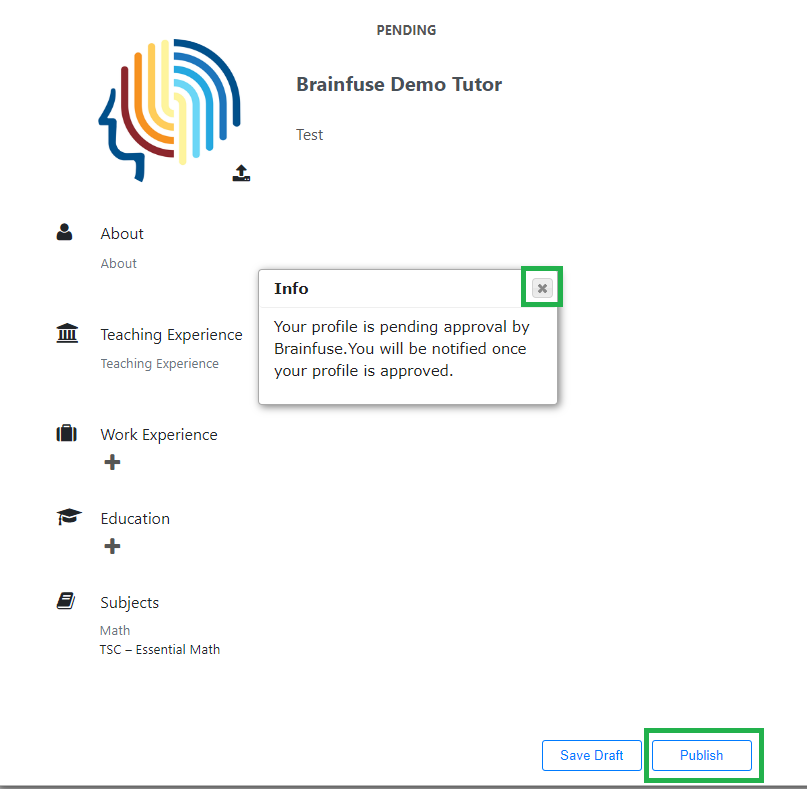
9. In order to publish the tutor profile for students to view, close the pop-up “Info” window and select “Publish” at the bottom of the page. The tutor’s profile will not be visible to students unless it is published. Unpublished tutor profiles will show PENDING at the top of the page.
10. Once a profile has been published, it can be edited at any time by following the steps above.
Tutor Profile – Student View: Once a tutor publishes a tutor profile, students can view the profile prior to scheduling a tutoring session.
1. When a student logs in to schedule a tutoring session with a tutor, they’ll see the tutor profiles when browsing the available sessions. All tutors with a preferred schedule will be shown, regardless if a profile has been published.

2. From the scheduling page, students will be able to access a tutor’s full profile for review prior to scheduling.